BLOG
Oct
2015
Taking Control of a WindowsImageBackup Folder
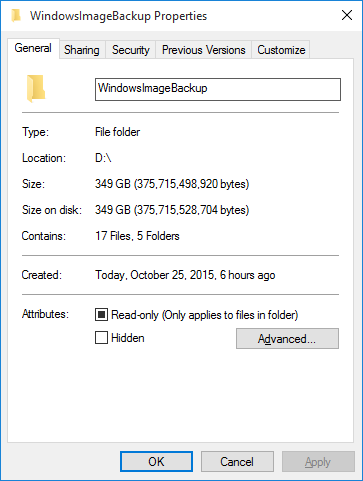
So you’ve made a Windows Image Backup – using the File History window in Windows 7, 8, or 10. Now you want to find out how large the backup is – so you right click and go to Properties, to find that somehow it’s…empty.
![]()
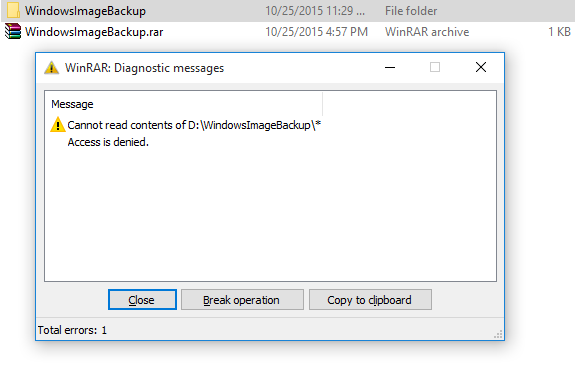
If you wanted to take this huge folder and archive/compress it – you’re out of luck, because the various programs will not be able to enumerate the files in the subfolders. Very Frustrating.
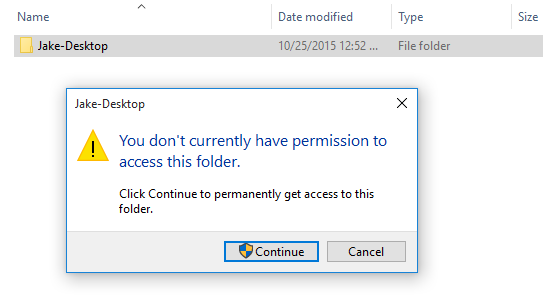
Furthermore, inside the WindowsImageBackup folder there will be another folder with the backed up computer’s name. But if you try to enter that directory, you’ll be told you don’t have permissions…even though it’s a backup that you created, containing files that you already have access to. So while you can access the original files, you’re barred from entering the backup directory! (You can hit “Continue” if you’re an administrator.)
The truth is, the folder is not empty at all. In fact, this particular folder is roughly 350GB. So why does it say it’s empty? Because you don’t have read permissions over some of the subfolders, strangely. In this post, I’ll detail how, exactly, to give yourself those permissions.
There’s a very easy process that has to be done on every folder, subfolder, and file, starting from the WindowsImageBackup folder and moving downward. The process is as follows:
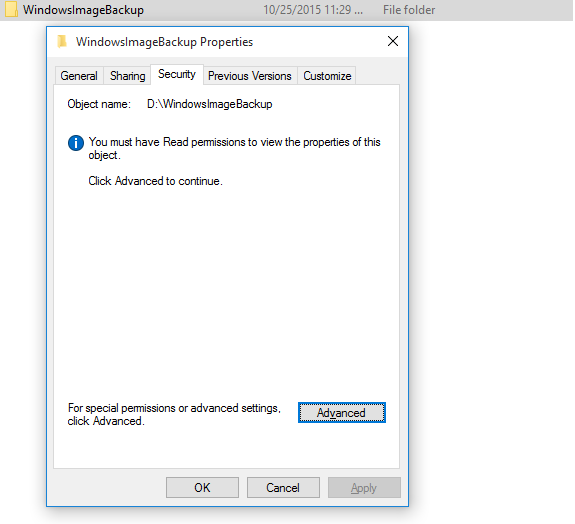
- Right click the folder, click on Properties. Click on the Security tab.
- You’ll see it tell you that you don’t have Read permissions. Click on the Advanced button.
- You’ll see a screen that tells you once again that you can’t see your own backup files. Click “Continue”.
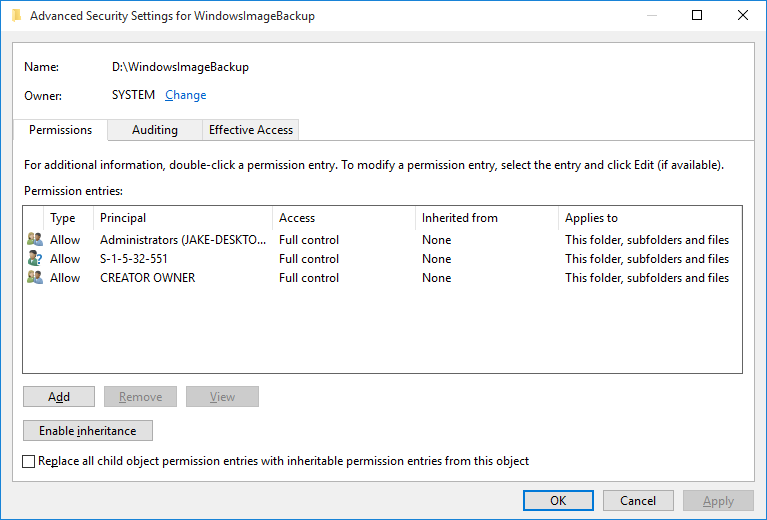
- You can see that there are a couple of different user accounts that have varying levels of access. Click the “Add” button”.
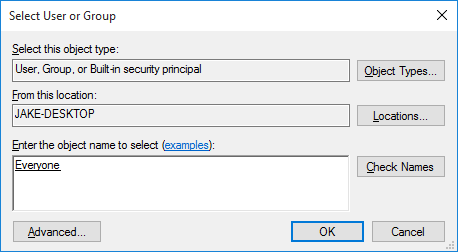
- In the resulting window, click “Select a principal”. In the “Select User or Group” window that pops up, type the word “Everyone” into the “Enter the object to select (examples)” dialog box, and click “Check Names”. Originally, the word “Everyone” will not have an underline, but after clicking “Check Names”, it should have an underline. Click “OK”.
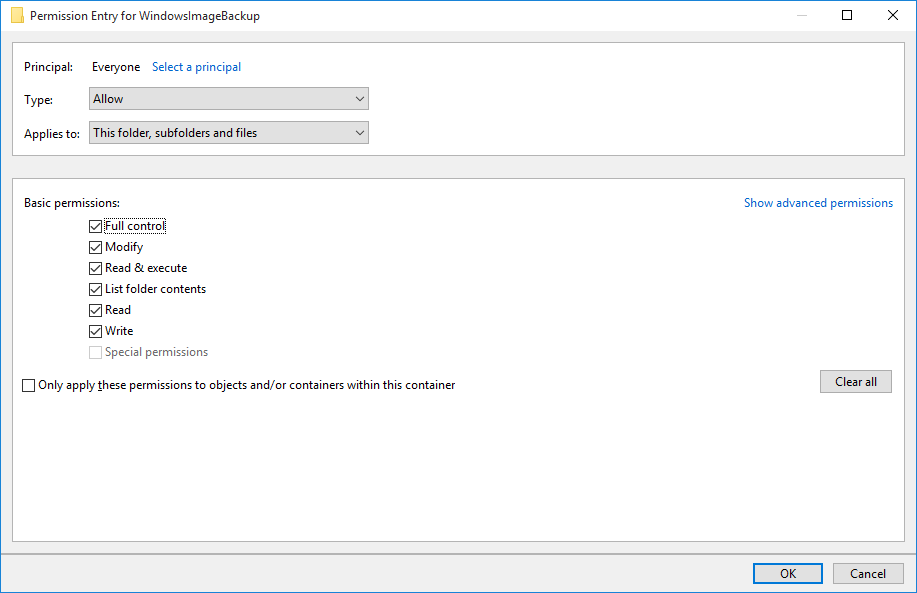
- Back in the Permission Entry window, check off the “Full Control” permission, which should check off everything else on the list. Click “OK”.
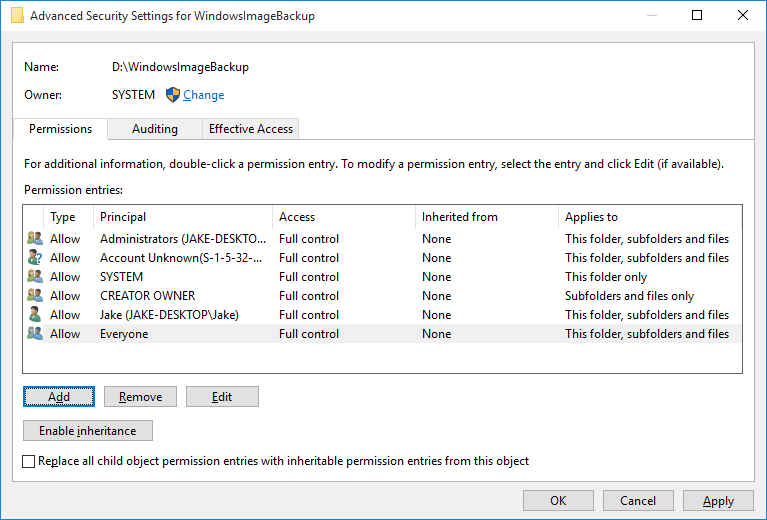
- You should now see the “Everyone” entry in the “Permission entries” list. For some reason, there are other accounts added as well…but as long as “Everyone” is there, you should be good. Be sure to check off “Replace all child object permission entries with inheritable permission entries from this object” – it won’t necessarily help anything (because of the error below), but if you are occasionally able to apply these permissions to subfolders/files, you’ll save yourself from having to go through these steps a few times. Click “Apply”, then “OK”. If you get a popup explaining to you that “This will replace explicitly defined permissions…” just hit “Yes” – we do want to replace the existing permissions that lock you out of your own files.
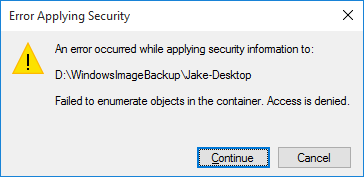
- The first couple of times you do this process, you will run into an error that says “An error occurred while applying security information to: [your backup folder]. Failed to enumerate objects in the container. Access is denied.” This is the real mind bender – you’re trying to give yourself permissions over a folder. That folder has subfolders, but your current user can’t actually see them all. You can’t see them all, because you don’t have permissions. So in trying to give yourself permissions, you can’t apply those permissions, because you can’t see them. So, you can’t have read permissions because you don’t have read permissions. Fun, right? No worries, it just means you have to do this same process a lot. Hit “Continue”, then click “OK” on the “Advanced Security Settings” window. Hit “OK” on the Properties window as well – this should leave all windows closed, except for Explorer.
- Now, you go one level deeper, entering the folder you just edited the permissions for, and start back at step one. Yay! Keep repeating the process until you’ve gotten through every folder and file. Below is a basic file structure that all of my backups match – hopefully yours matches the same basic structure. Good luck.


Structure (starting from root of drive)
- WindowsImageBackup
- [Computer name]
- Backup [date and time of backup]
- A bunch of XML files
- A bunch of .vhdx files
- Catalog
- BackupGlobalCatalog
- GlobalCatalog
- Logs
- At least one .log file
- SPPMetadataCache
- At least one file with random letter/number combinations, separated by dashes, surrounded by {}’s
- MediaId file
- Backup [date and time of backup]
- [Computer name]
And in the end, you’ll have full control over your folder. Check this out – I can actually see how big a folder on my hard drive is! Thanks for that privilege, Microsoft! Sigh…
WHO EVER MADE THIS GOT A SICK MIND.
THANKS JACK.
by the way,you got a nice sense of humor.
keep it up.
Thanks a million!!! All this complication to backup to a NAS is such a mess. What were the creators of Windows Image Backup thinking.
Please note that you do get an estimated size of the windowsimagebackup folder displayed to you just before you create it.
At step 2 and 3 above if you take ownership of the folder(at top of images), you won’t have to click on every single file individually to change the permissions. Solution compliments of superuser user Tonny.
Wait, is this for a Windows Backup? In my solution, I did not use the command line, and it was instant (certainly not days!)
🙂 Jake, thanks!
1. Click Start.
2. Type the three letters cmd into the Search box.
3. Press Ctrl+Shift+Enter
4. Click “Run as Administrator”.
5. Type the following commands and press enter after each:
dir /s /a E:\WindowsImageBackup
(To see the contents of this folder)
(Replace E: with the correct drive letter)
Thanks for taking the time to make this useful post!! I was able to unlock my damned WindowsImageBackup folder…SUPER annoying, right??
Thanks again bud,
Worked for me, but I didn’t get his with that “An error occurred while applying security information to” etc error. I was able to steal err regain control of *my* files. Then was able to run multipar to create recovery files (just incase), moved to the server to archived till my next windows nightmare. Thanks for the advise!!
In item #4, I clicked the “Enable Inheritance” button, and it seemed to apply the first permissions change to all the subfolders. Thanks for the article!
THANK YOU! Listing the default structure for the system image backup saved me!
Or, just do it on the first folder and enable inheritance…
Windows gave me an error when I tried it, both on my main computer and in a VM – likely because of the “Failed to enumerate objects in the container.” error I mentioned in my post. But if it works for you, it can definitely save a few steps!
Thank you very much. This was very, very, helpful. Great piece of work
Jake: (1) Can we avoid some of this hassle by renaming the WindowsImageBackup folder? (2) Also, you MUST rename the folder if you do not want it to be overwritten by a later image backup. Critical if you are using the same external drive to backup more than one Windows PC. thanks
to do with less clicks, use a admin power shell and use it to set permissions recursively
First set permissions on the top folder the GUI way, then do this to apply the same to all under.
$Acl = Get-Acl “E:\WindowsImageBackup”
$AclP = “E:\WindowsImageBackup”
Get-ChildItem $AclP -recurse -Force | Set-Acl -AclObject $Acl
Does the Windows Restore recognize an renamed “WindowsImageBackup” file?
[…] you save your backup to a drive, you will see a WindowsImageBackup folder where the system image is located. If you want to keep the current system image, copy the entire […]
Search for “Take ownership” – HowToGeek has instructions to add it to your context-menu.