Customizable Hebrew Phonetic Keyboard for Windows (11/10/8/7)
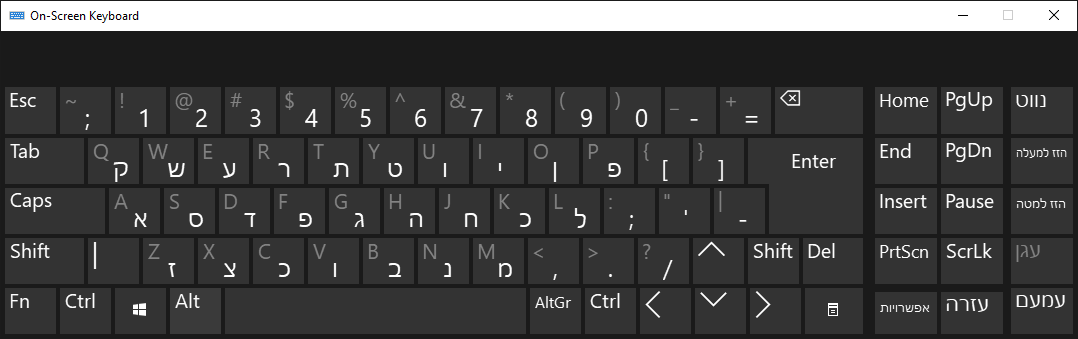
I had some difficulty finding resources for creating custom keyboards on Windows, so I wanted to write up a post on what I’ve found. Specifically, I wanted to create a Hebrew keyboard which was laid out phonetically (so the letter Daled, ד, which makes a “d” sound, would be typed via the “d” key).
Although there are some prebuilt phonetic keyboards (such as this one from the University of Kansas), I wanted some customization there.
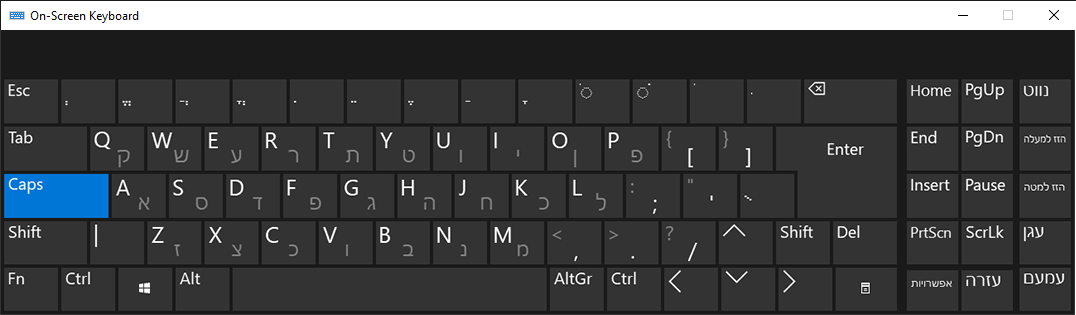
You can use nikkud (vowels) if you hit the CAPS LOCK key:
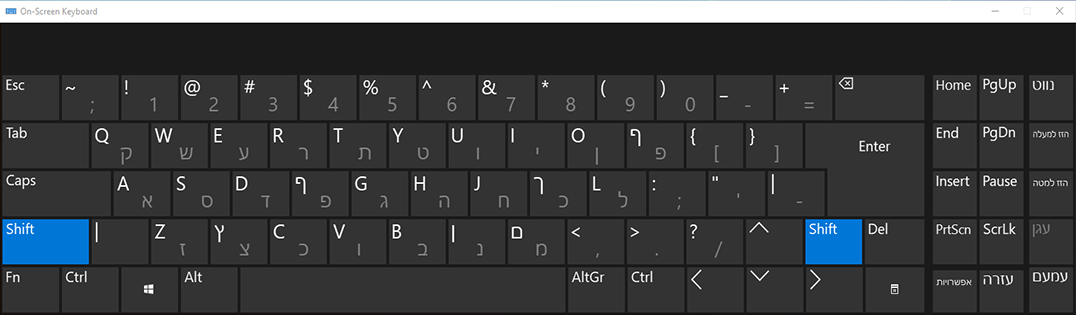
And you can use sofit (final letters) if you hit the Shift key:
If you want to skip right ahead to downloading my keyboard, you can download the installer files directly. These files should work fine on Windows 11, Windows 10, Windows 8, and Windows 7 – and likely even further back.
Required Software
You’ll basically need two things to create your own custom keyboard:
- The Microsoft Keyboard Layout Creator
- This software hasn’t been updated by Microsoft since 2007, but it works surprisingly well
- My keyboard layout source file
Starting up
You should begin by opening the Microsoft Keyboard Layout Creator, and then going to File -> Load Source File and choosing my “Phonetic Hebrew Keyboard.klc” as a starting point.
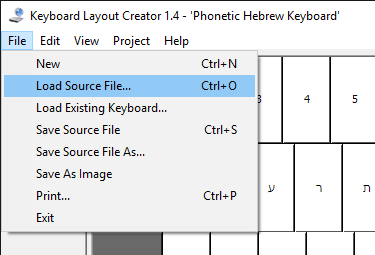
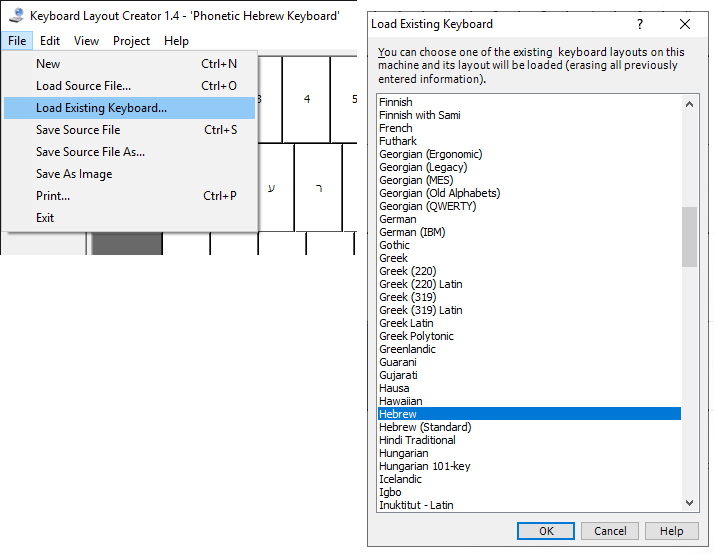
Note that you can also choose an existing keyboard to begin with, such as the standard Israeli keyboard layout, by going to File -> Load Existing Keyboard, and then choosing the Hebrew keyboard. (I did not find any differences between “Hebrew” and “Hebrew (Standard)”.)
From here, you can begin to edit the keyboard layout as you see fit. I’ve made certain decisions based on how I think about the Hebrew language with respect to how I type in English – I think of the letter kuf (ק) as the “Q” sound, and kaf (כ) as either the “K” or “C” sound – and I have mapped the letters as such. If you feel differently, you can simply click on a key and remap that key to any letter you want.
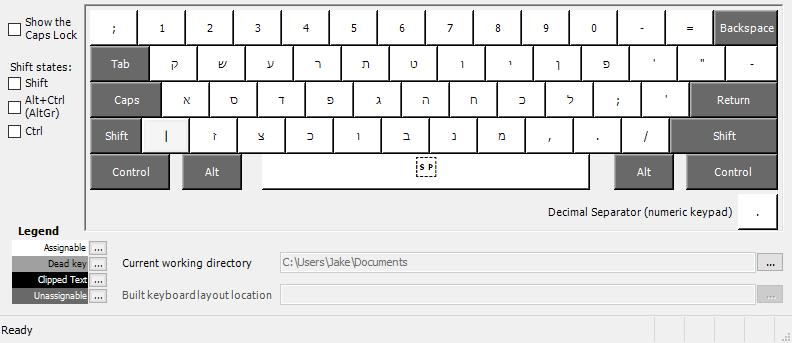
It’s worth noting that in my keyboard layout, holding the Shift key shows the Hebrew layout I chose as normal, with the exception that some letters become their final forms. So for example, the pei (פ) becomes the pei sofit (ף). You can customize this how ever you’d like – just click the “Shift States” checkboxes on the left to see what your keyboard will look like in a “shift state”, such as holding the Shift key, the Alt key, or the CTRL key.
Validating Layout and Creating Keyboard Installer
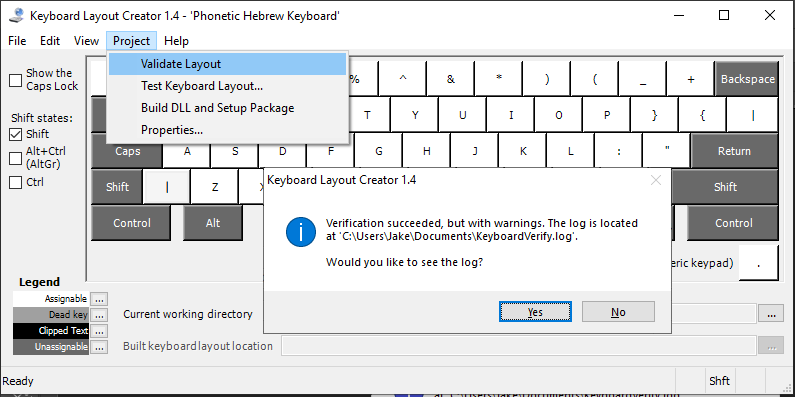
When you’ve finished editing your keyboard layout, the first step is to go to Project -> Validate Layout. This will let you know if there are any warnings or errors regarding your keyboard – this can include things like having the same letter mapped to two different keys. It is a good idea to review the log of warnings and errors to make sure that your keyboard exists the way you want it.
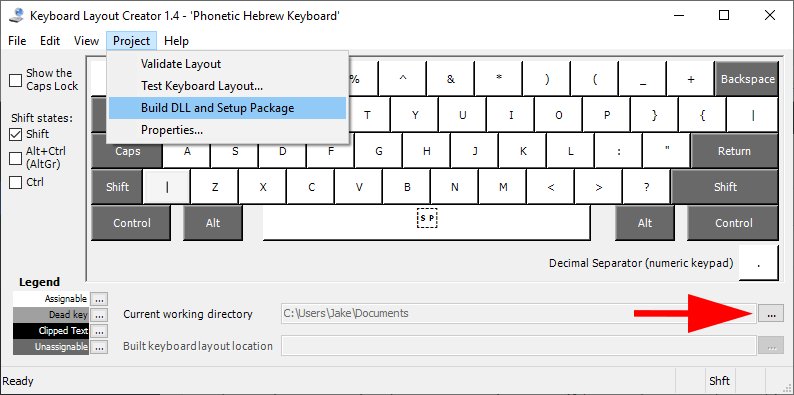
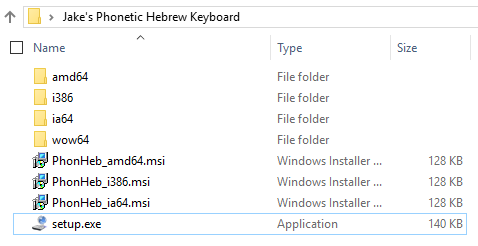
When you’re sure you’re done, go to Project -> Build DLL and Setup Package. This will create the installer files for your keyboard, which is what I linked to above for my own. You can also change the folder into which these files can go by clicking on the ellipsis key next to “Current Working Directory” below the keyboard layout.
This will create several executable files for different operating system architectures, but the easiest method to install the keyboard is simply to run setup.exe.
After installing the keyboard and restarting, you should now have access to this keyboard layout. Note that you can have multiple keyboard layouts installed for the same Language, so you can switch between English, Hebrew (Standard) and Hebrew (Phonetic) as you wish. The quick shortcut for switching keyboards is Windows Key + Space.
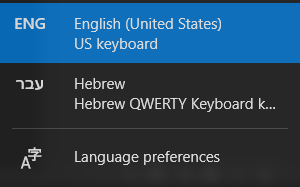
One user mentioned to me that they were not able to see this keyboard in their list of available keyboards, when using Windows 10. If you’re seeing that issue, Windows may have added the keyboard as an alternative one to the existing Hebrew language pack. Just choose the regular Hebrew keyboard and hit the Windows key + Space bar, and you should be good to go!